.png)
In digital orthodontics, precision isn’t just a nice-to-have—it’s the foundation of everything we do. Over the years, I’ve seen how even the smallest oversight during digital planning can completely alter a treatment outcome. That’s why today, I want to share with you one of the most common pitfalls I encounter in segmentation and, more importantly, how to avoid it.
The Hidden Pitfall: Misplaced Mesial and Distal Points
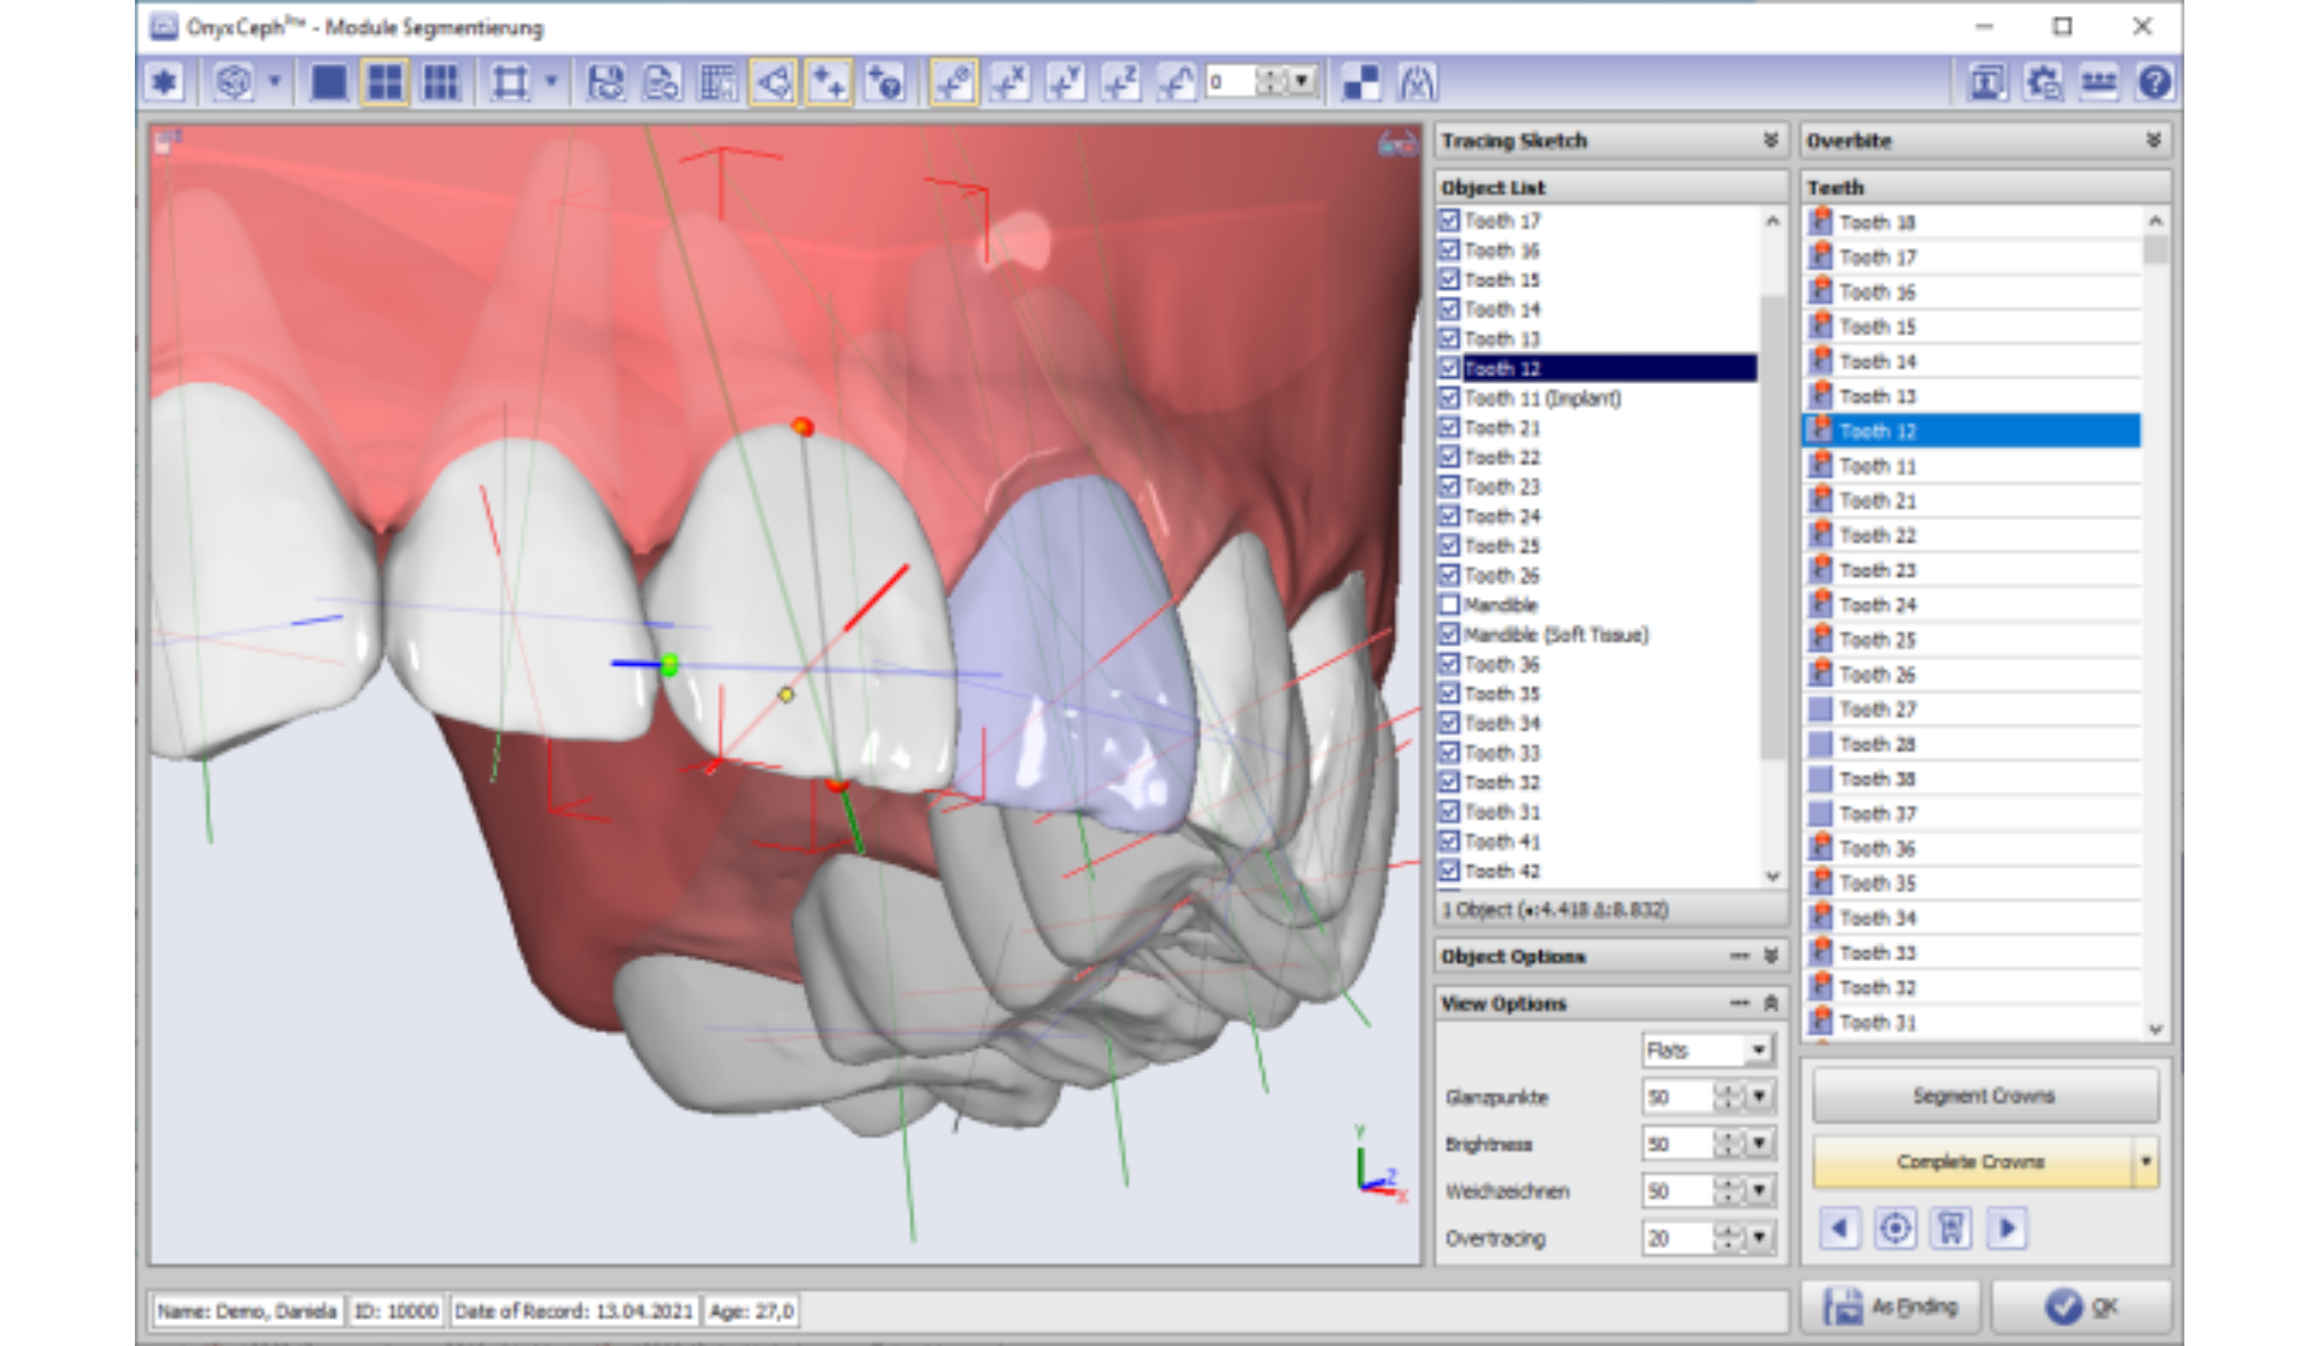
One of the most frequent mistakes I notice—whether from colleagues, planners, or even automated software—is the incorrect placement of mesial and distal points during tooth segmentation.
It might sound like a minor issue, but when these points aren’t set correctly, the software misinterprets the tooth’s axis. And that’s where the problems begin.
Let me give you an example. If the mesial point is placed on the buccal mesial surface instead of the true mesial surface, the software won’t recognize the correct axis of the tooth.
The result? Instead of moving buccally as planned, the tooth drifts both distally and buccally. Suddenly, your treatment doesn’t unfold the way you expected—spacing becomes uneven, teeth don’t align as intended, and predictability is lost.
A tiny misplacement leads to a cascade of issues that compromise the overall treatment.
The good news is that this problem is easy to prevent if you pay close attention.
Here’s my rule: always place the mesial point on the most mesial surface of the tooth.
This simple adjustment allows the software to interpret the tooth axis correctly, ensuring that your planned movement (like a buccal movement) actually happens as intended.
I also recommend being mindful of the occlusal positioning of these points—don’t place them too high, as that can distort the segmentation as well.
Beyond Tooth Movement: Why This Step Matters Even More
Correct point placement doesn’t just improve the accuracy of movements. It also has a direct effect on:
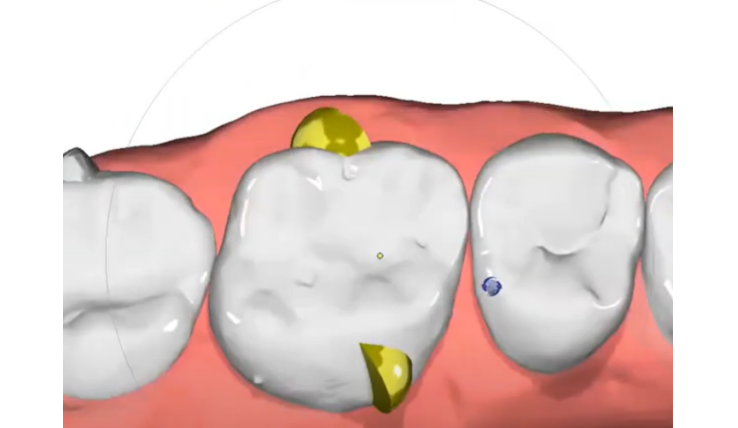
- IPR: Correct points mean precise IPR placement, avoiding unwanted enamel reduction or insufficient space creation.
- Spacing Distribution: You’ll achieve a more balanced, aesthetic, and stable alignment.
In other words, this one small step creates a ripple effect across the entire treatment process.
No matter which software you’re using—OnyxCeph, Nemocast, Arcad—the principle remains the same:
- Double-check your mesial and distal points.
- Don’t rely solely on automated segmentation.
- Take a moment to manually verify and correct.
That little extra time can save you from major headaches later on and give your patients more predictable, successful outcomes.
Latest Articles
All Articles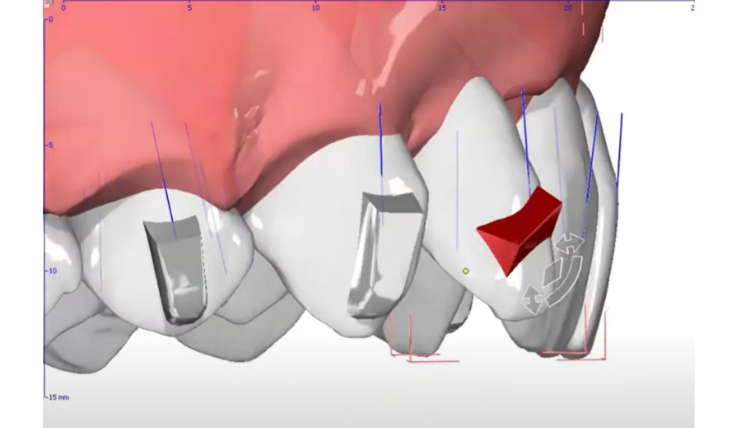
Mastering the PIR Protocol: My Sequential Approach to Class II Division 2 Treatment
Class II Division 2 malocclusion is complex, with retroclined incisors, deep bite, and vertical challenges. The PIR protocol—Procline, Intrude, Retract—offers a clear sequence to manage these cases with stability and precision. Read how to optimize biomechanics, avoid pitfalls, and achieve predictable long-term outcomes.

Improving Molar Rotation with a Dual Attachment Strategy
Molar rotation with aligners is tough—size and roots make movement unpredictable. Dual attachments, placed buccally and lingually, create a couple force for pure rotation and better control. With precise planning and placement, this method reduces auxiliaries and improves predictability in rotations over 10°.